PiRobot
Controlling an iRobot Roomba vacuuming robot with a Raspberry Pi


Motivation
This project makes a great first robot for someone with the software skills.
All the hard hardware problems have been solved already by the guys at iRobot, and it's really just a matter of interfacing to a Raspberry Pi / Arduino or whatever.
Components
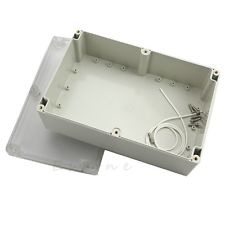 |
Box | Jaycar | If making a proper tele-presence robot this would have to be more carefully thought through. |
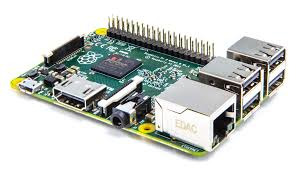 |
Raspberry Pi | Core Electronics | The brain of the rover. |
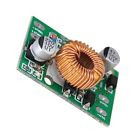 |
Step-down Power Supply | EBay | To (back-)power the Raspberry Pi. |
 |
5V5/3V3 USB to serial converter | EBay | To convert voltages for the serial interface. |
 |
Roomba interface cable | Internet | Plugs into top of Roomba to interface to Raspberry Pi. |
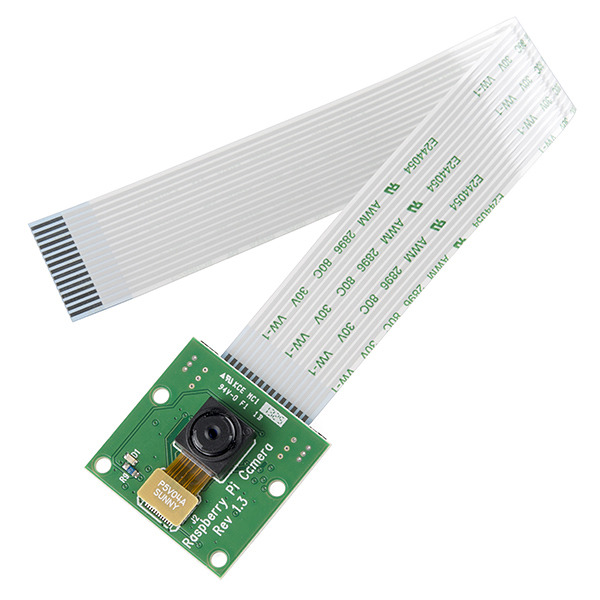 |
Raspberry Pi Camera | Core Electronics | This is an old RPi camera I had lying around - the newer models are much smaller and much better. |
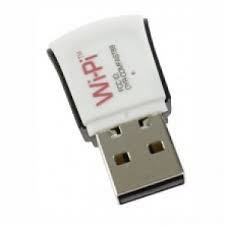 |
WiPi | Internet | WiFi connection (any compatible WiFi will do, and RPi-3 has this built-in anyway). |
Process
You will need an iRobot Roomba. Some of the very early ones may not have the serial interface. If you buy a second hand one, there is good chance that it will need new batteries. Budget for new batteries.
Also, if you reuse an old one, it will probably want to be cleaned out. The best way to clean it out is with an air compressor - even with a big air compressor, cleaning takes a long time with a really clogged up Roomba.
There is a cover which goes on the Roomba. It just pulls off with a little care, exposing the socket.
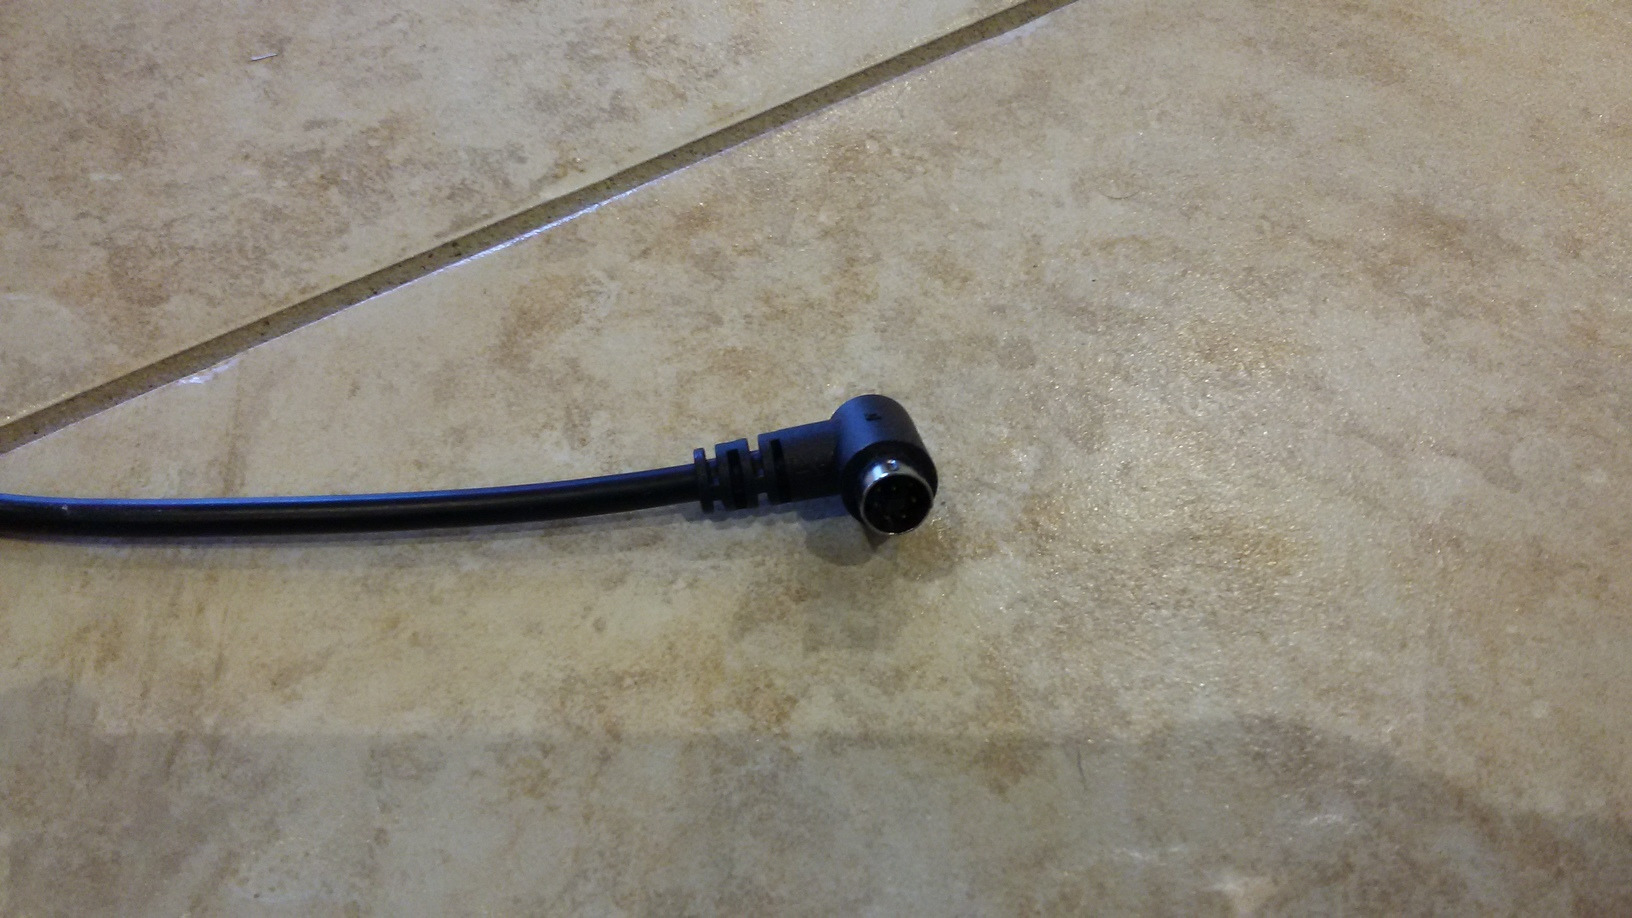
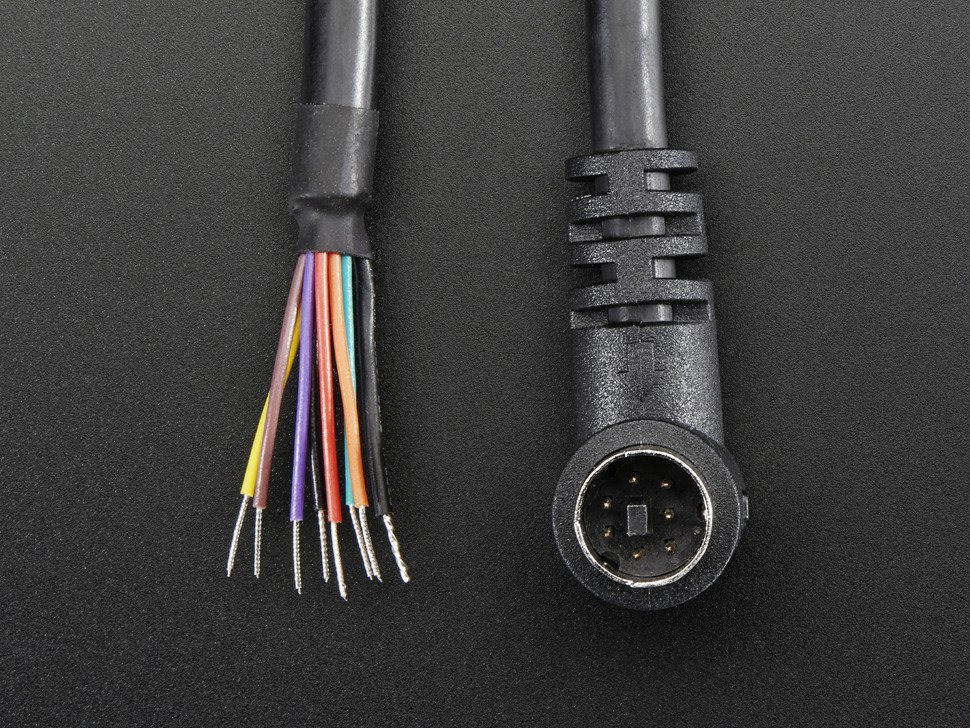
This is the specialised plug which the Roomba requires. Don't be fooled - this in NOT just a standard DIN plug - it is a specialised one.
They can be ordered from Core Electronics "Mini-DIN Connector Cable for iRobot Create 2 - 7 Pins - 6 feet". Six feet is way too long, but they did such a nice job of terminating the cable that I couldn't bring myself to shorten it.
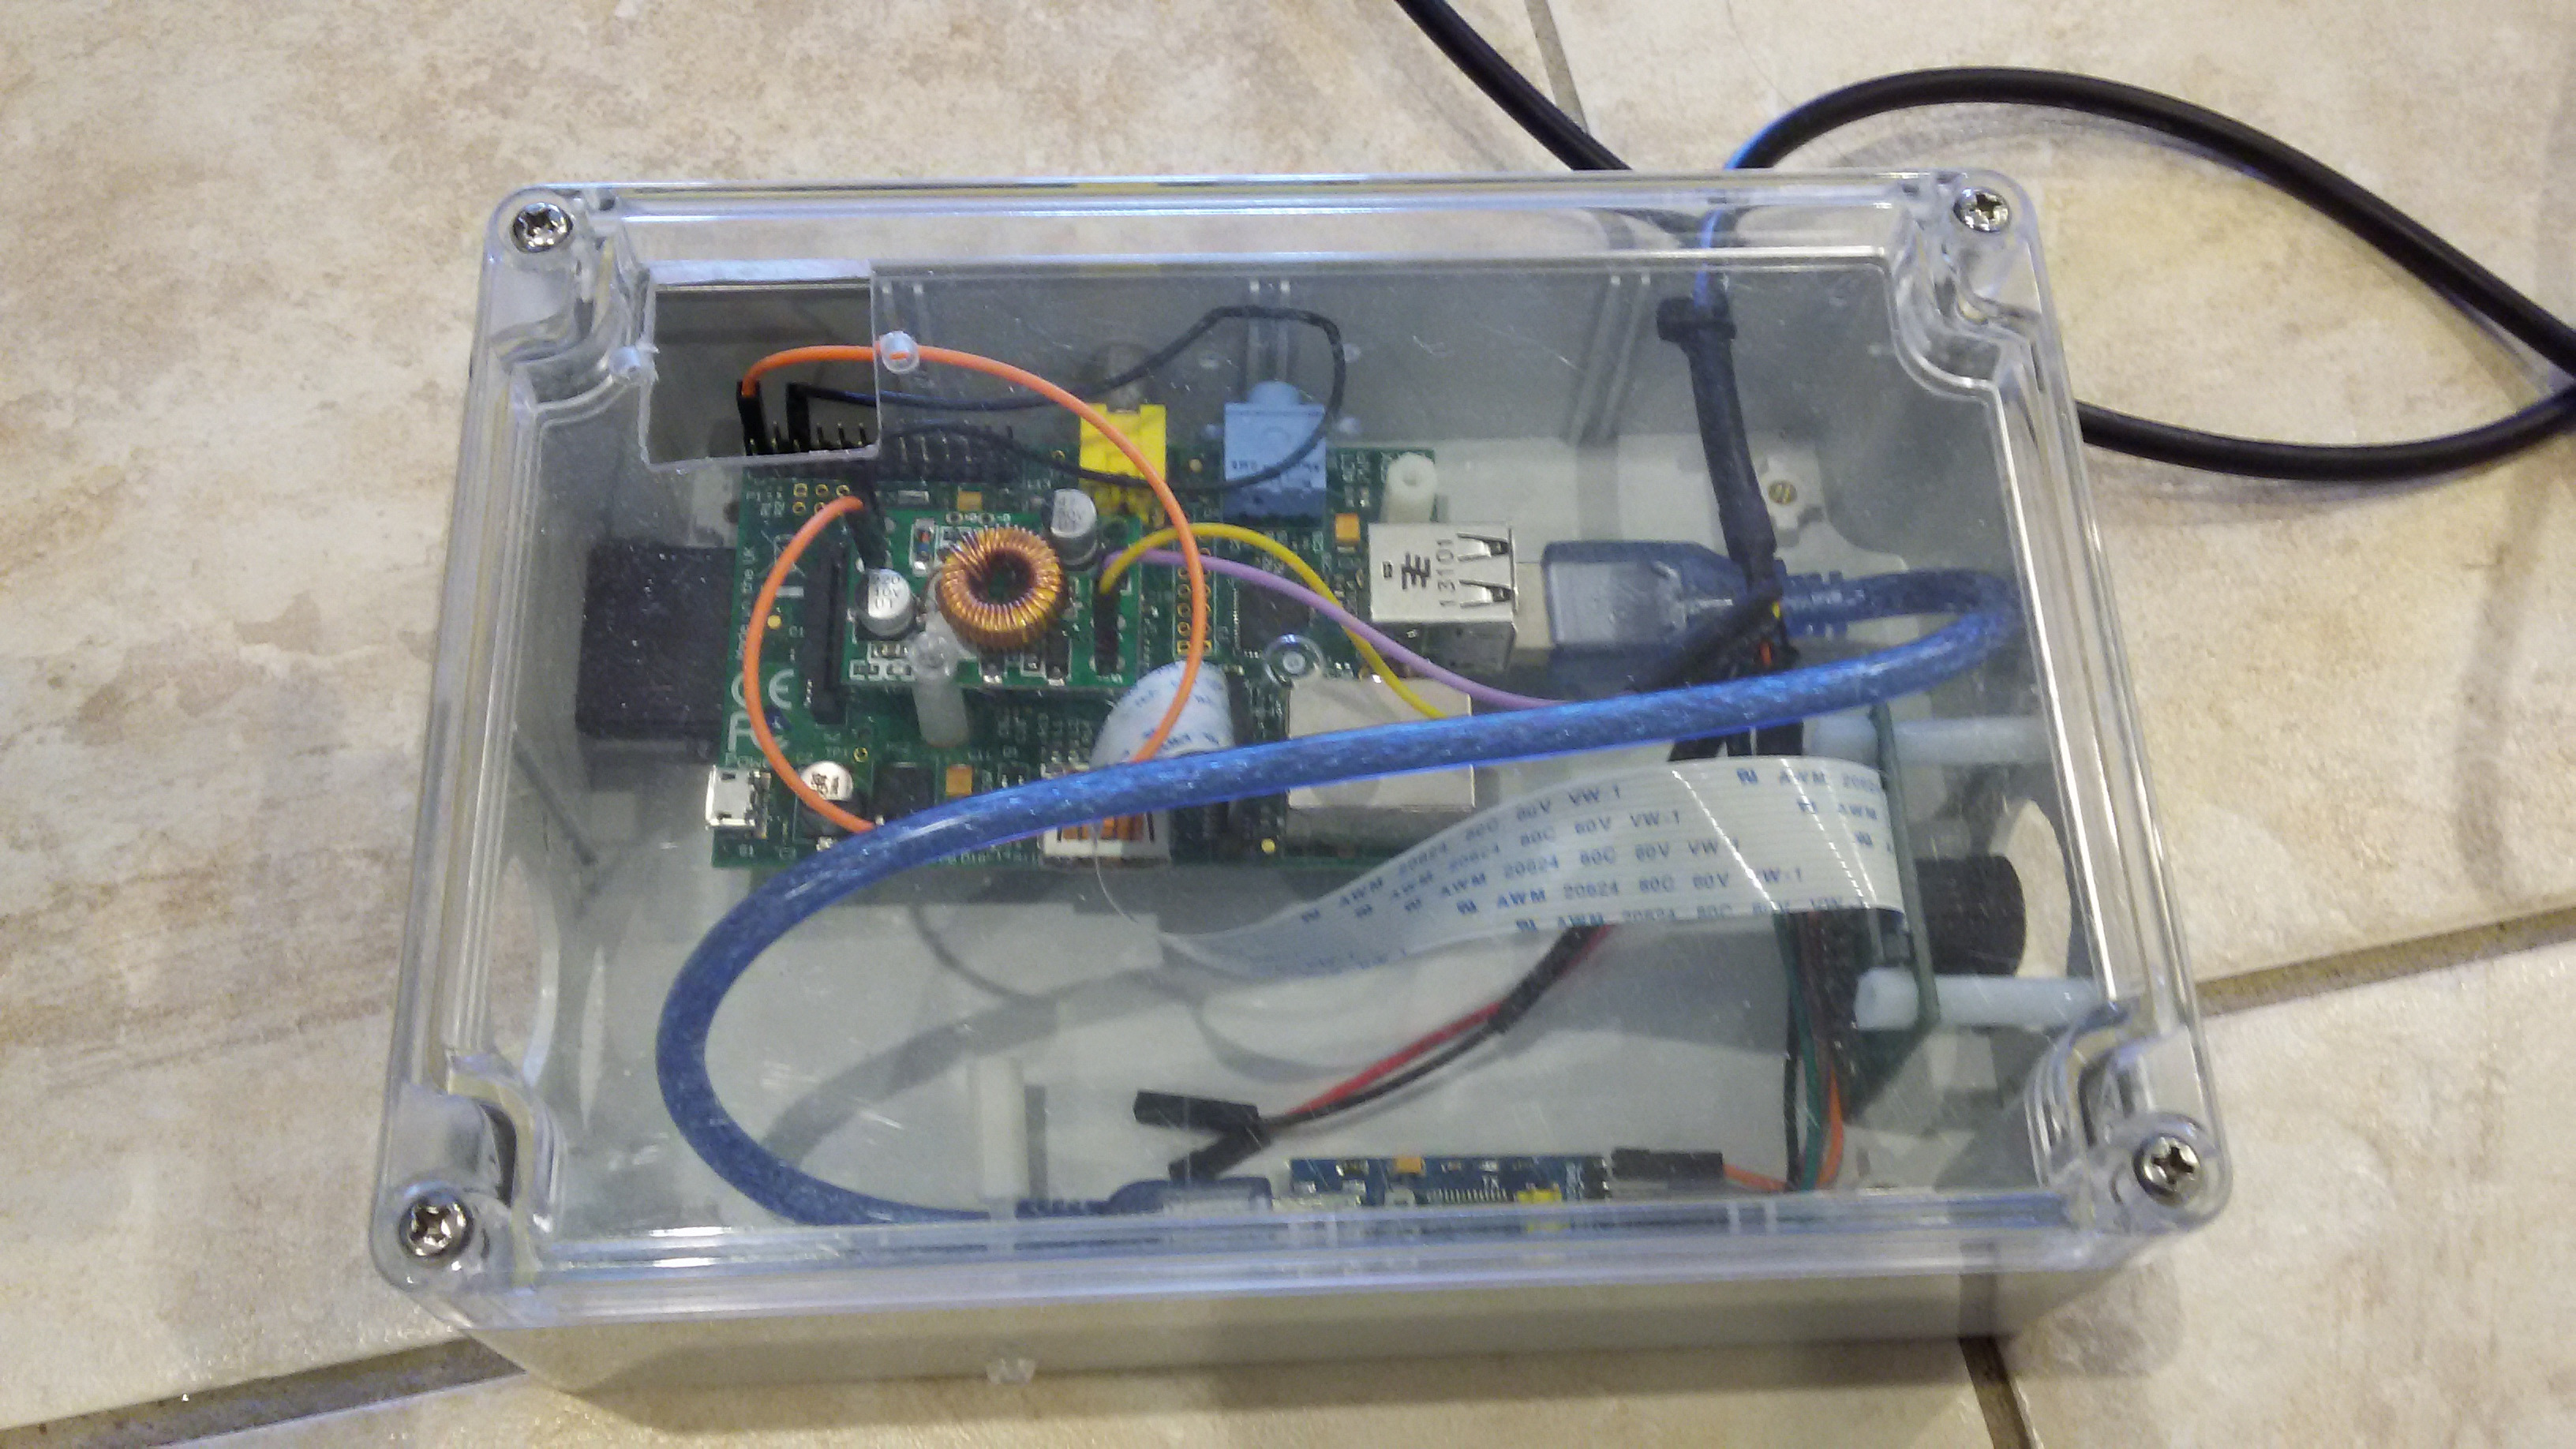
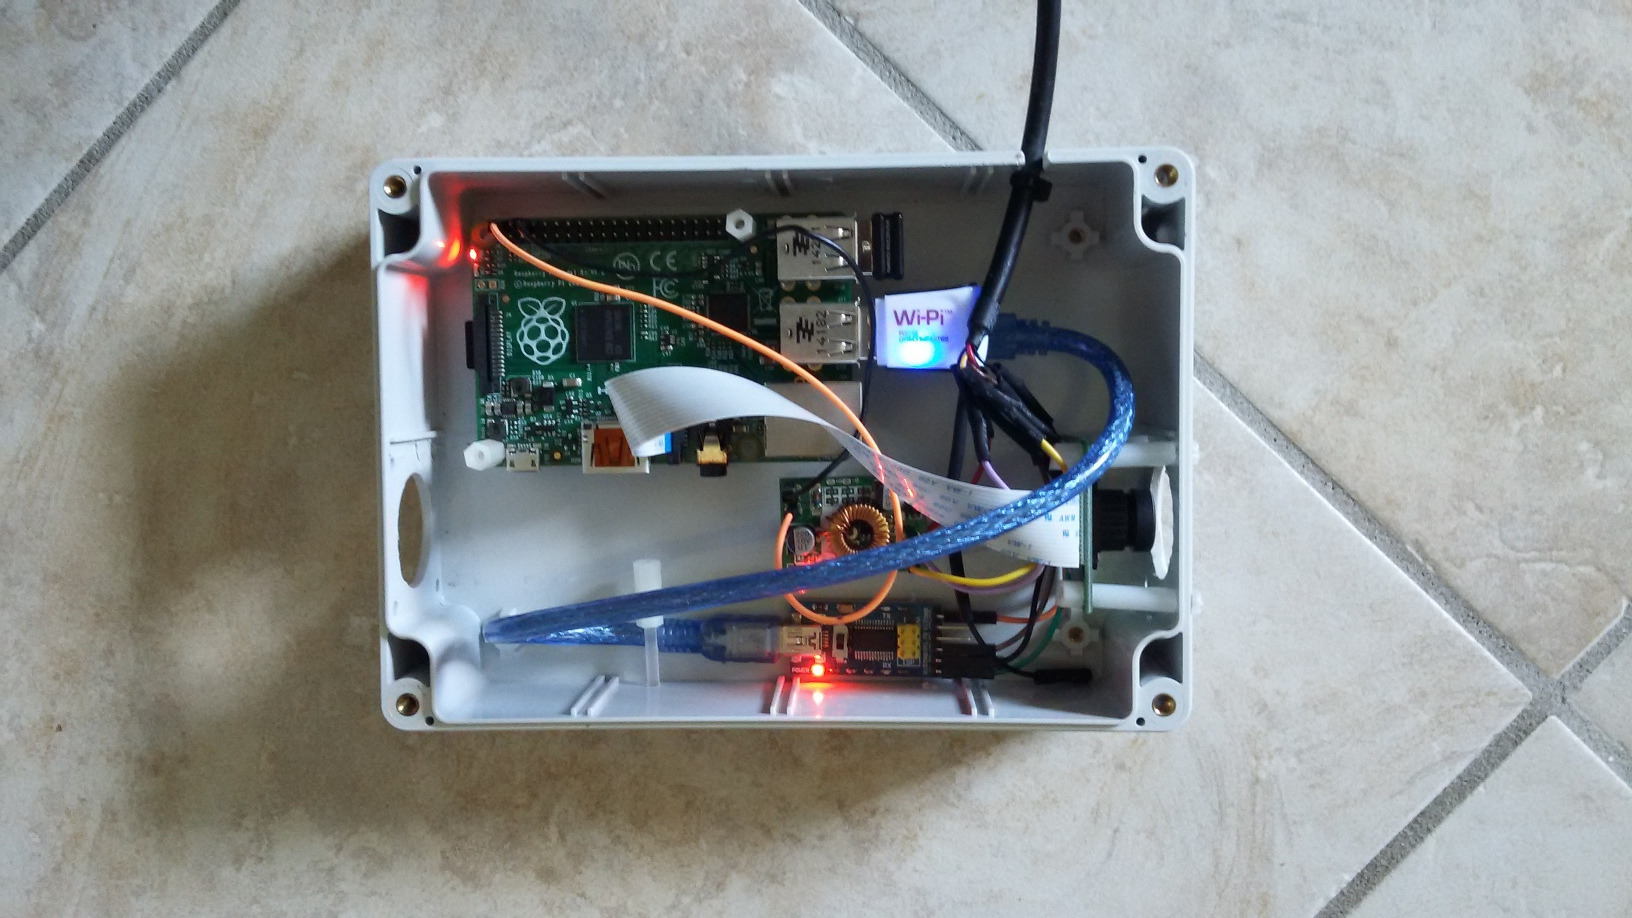
This is the box, with the Raspberry Pi, and the camera.
This is a very old Raspberry Pi, which was replaced with a newer one to accommodate the F710 plug-in.
I could have used some 3V3/5V converters and run the serial from the GPIO (hence freeing up a USB slot on the Pi), but I was lazy and just got a bigger one.
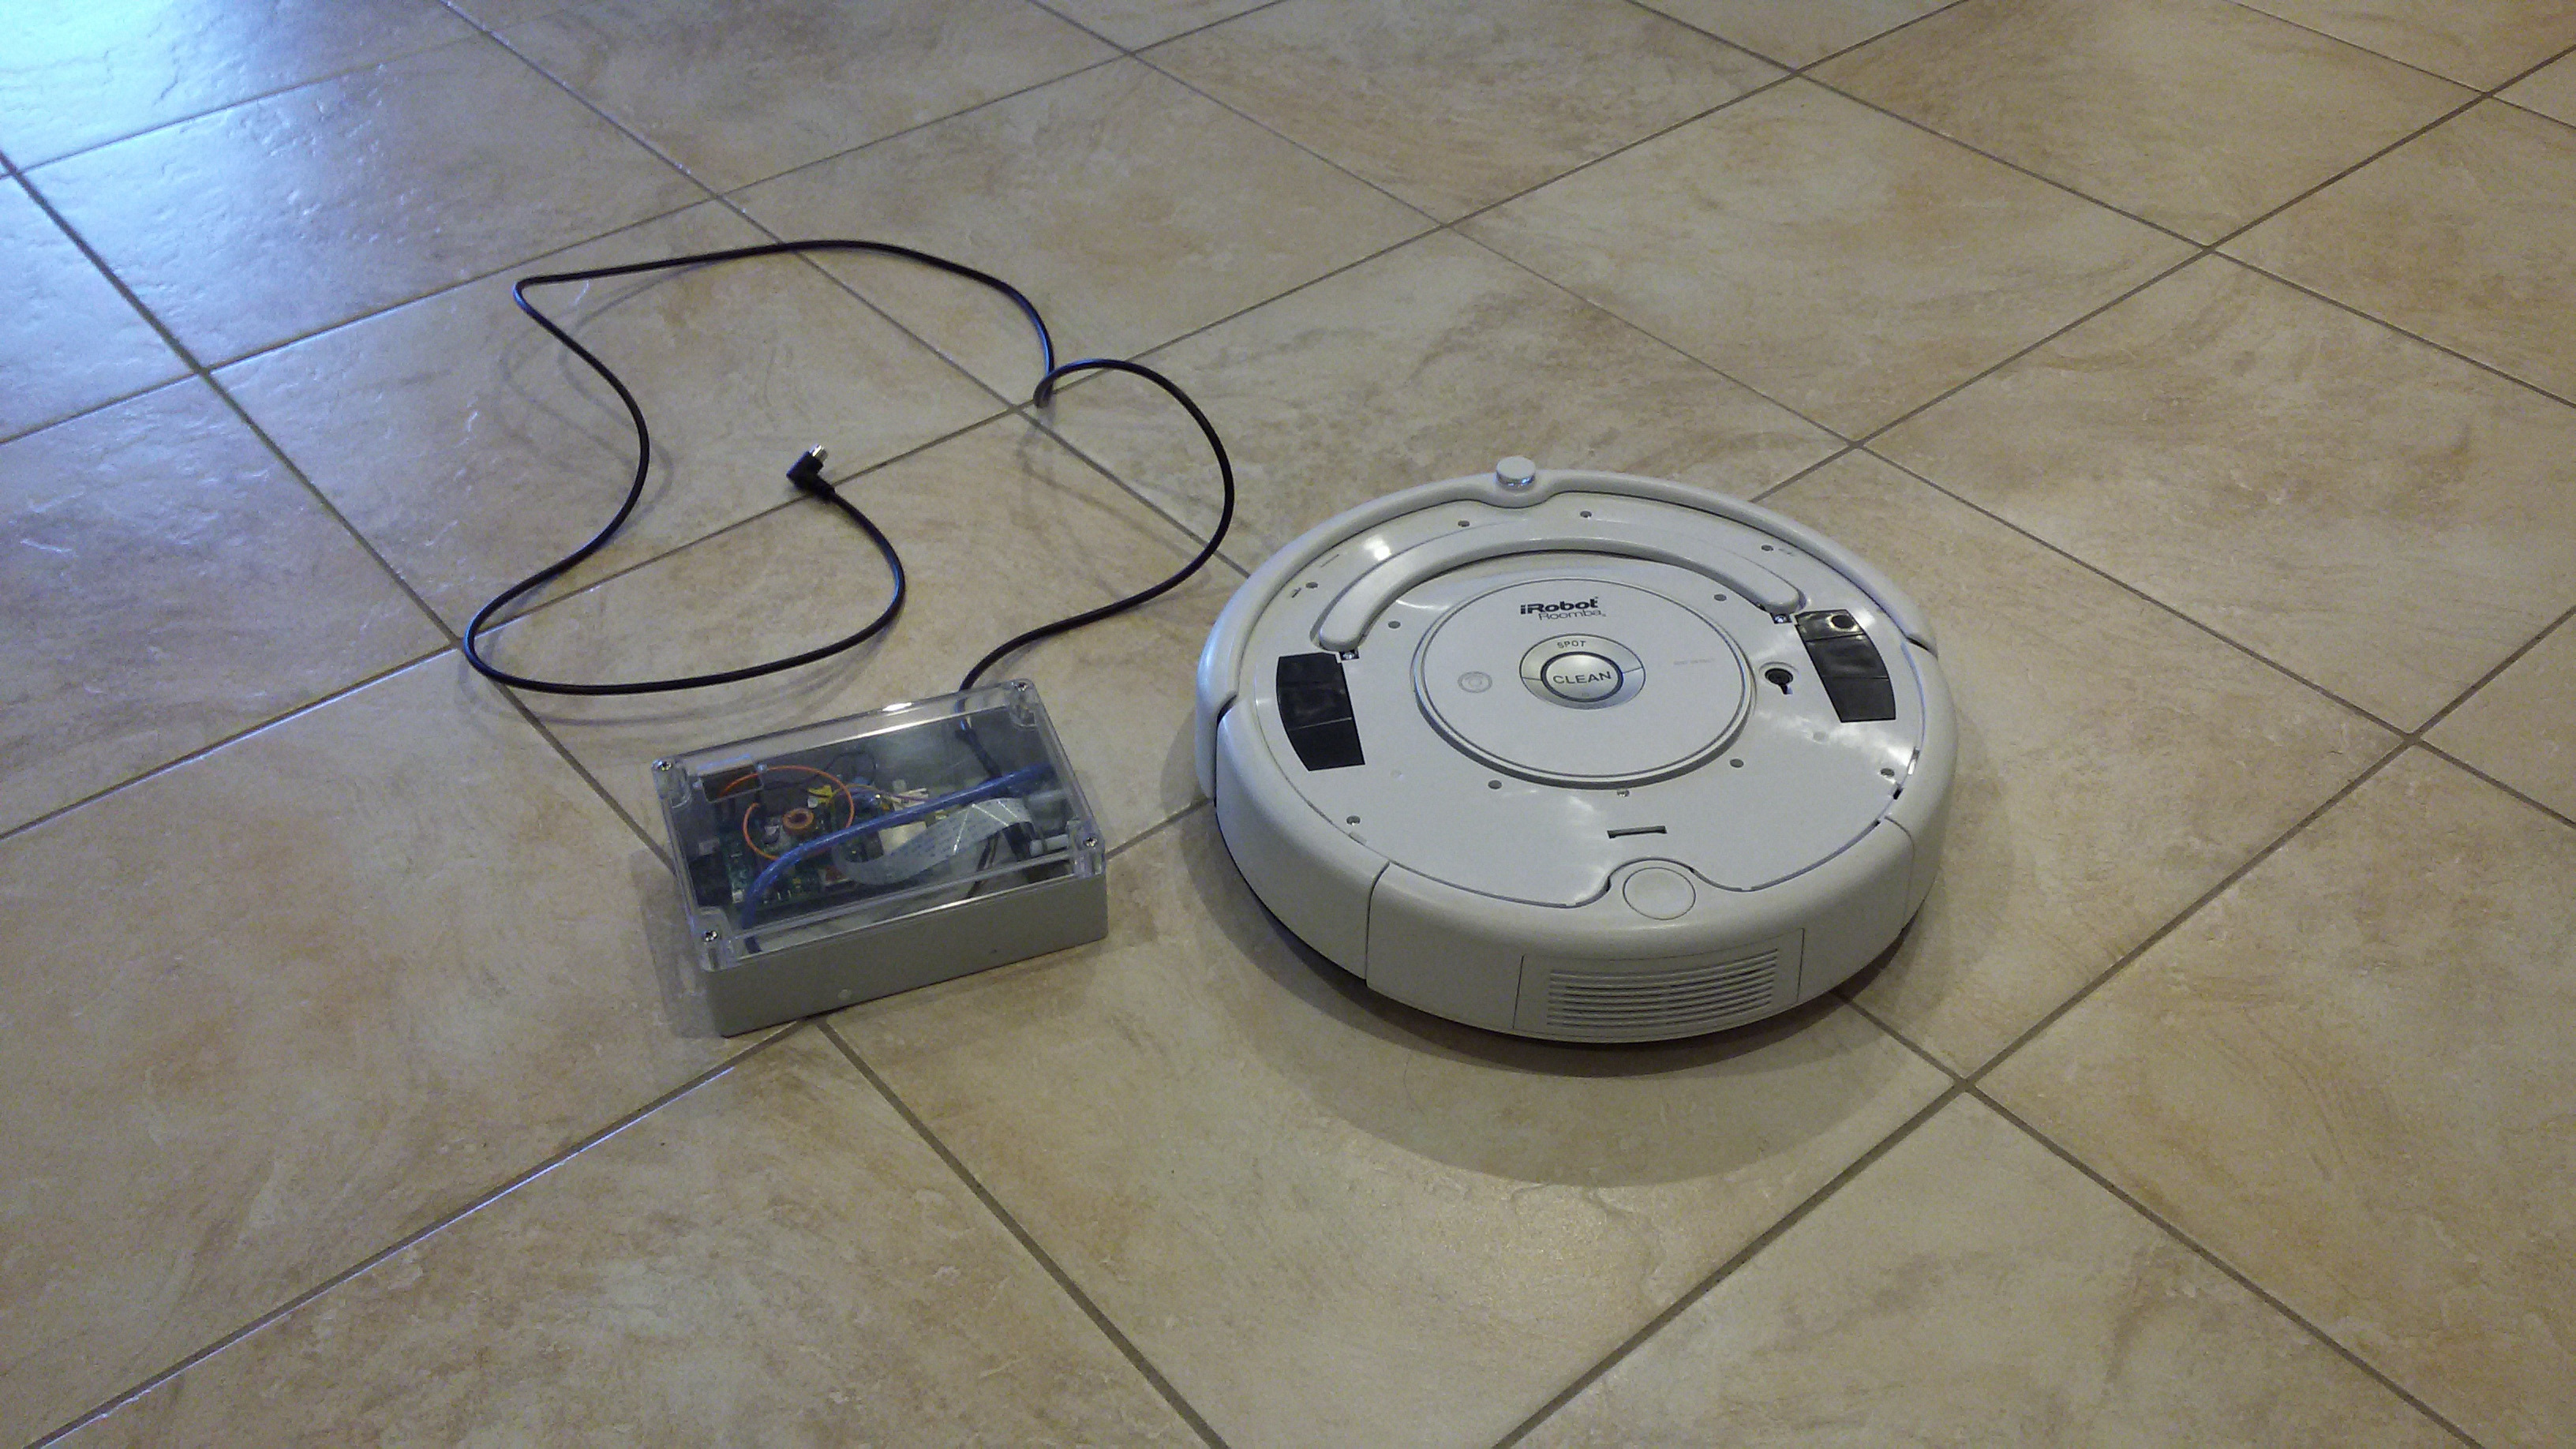
The cable simply plugs in, which powers up the Raspberry Pi, and we are ready to go.
It would be nice to find a better mounting solution than a rubber band though. At some point you just have to get the wife to give you permission to drill mounting holes into her favourite floor-cleaning robot. Fortunately, the cover can go back on to cover up the holes when experimentation is finished.
Back-powering the Raspberry Pi from the Roomba
The Roomba will supply 18V via the cable. The step-down power supply can bring this down to 5V, and can power the Raspberry Pi.
The 5V can be applied directly to the GPIO block, which bypasses the poly-fuse, and sends power directly to both the RPi and to the USB devices. There is no longer any protection for the Pi, but it can power many USB devices.
Software

A truckload of software to make this do anything sensible,
but a good start is at Roomba.java.
The future

With an appropriate mount, and a Raspberry Pi display, this would make an excellent tele-presence Robot, and then I wouldn't have to go to work. An excellent project for next winter.
An alternative would be to replace the Raspberry Pi with a modern Android phone with an OTG USB port.
Conclusion

The floor of my house is still not clean.
Leave a comment
 Something I'm doing wrong? Solved my problems? Got a better idea? Got a similar problem?
Think I might have solved your problem? Ninety-nine problems, but your robot ain't one? Say so ..