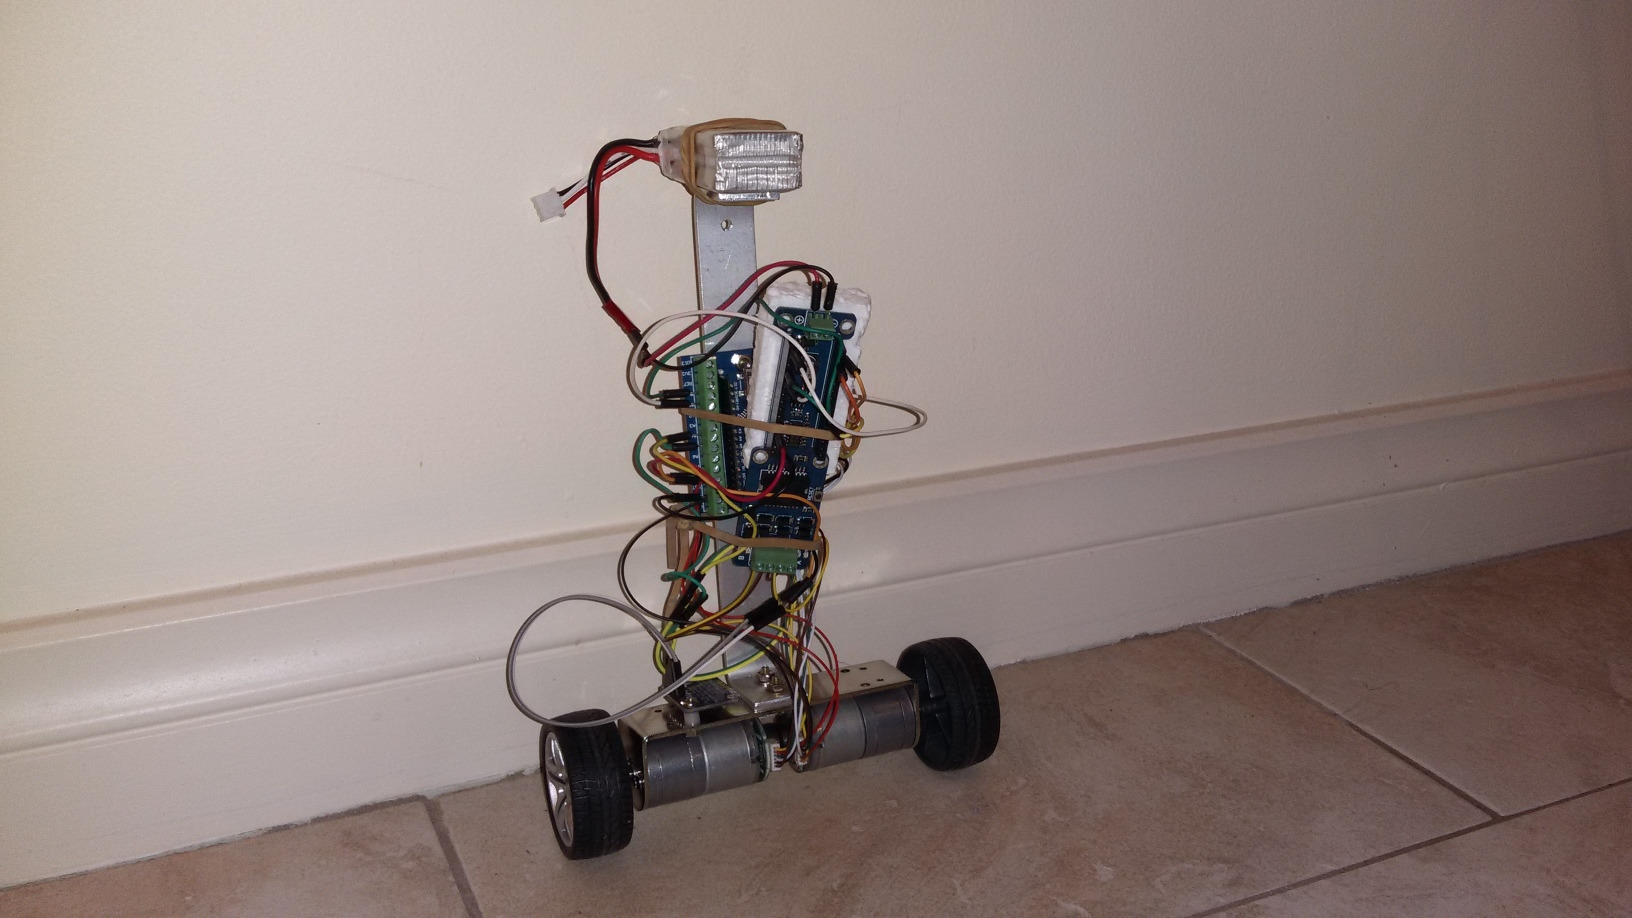
George Orwheel (DC Motors)
Two wheel differential drive balancing robot. Because four wheels baaaad.

WiP warning
This is a project in progress. It doesn't actually work yet, but feel free to keep coming back to catch up on progress.
Issue 1
Note: I am waiting on a (proper) Nano Dual Motor Driver from RobotShop, because the cheap Chinese one I got of eBay is not up to scratch. Serves me right for being stingy. That's what all the styrofoam is all about. Currently it doesn't actually balance properly.
Issue 2
Note: The standard PID calibration strategy (ie get it balancing with P, add D until it stops shaking, add I to stop it wandering) is not working. It seems to be two issues: 1. the non-linear response of the motor to the power value sent to the motor controller, and 2. delays between the IMU reading the value, and the motor reacting. Time to get out the old physics text-book and model it properly (with the delays).
Why?

Because it is the 'hello world!' of modern robotics.
Components
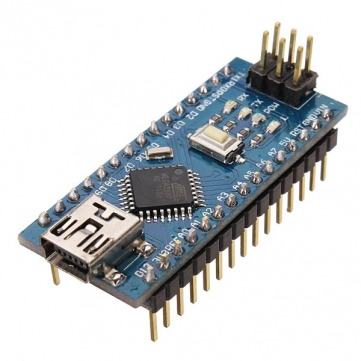 |
Arduino Nano | EBay | Lightweight, 5V tolerant, easy to program, cheap as silicon chips, and no tears when clumsy roboticists fry them. |
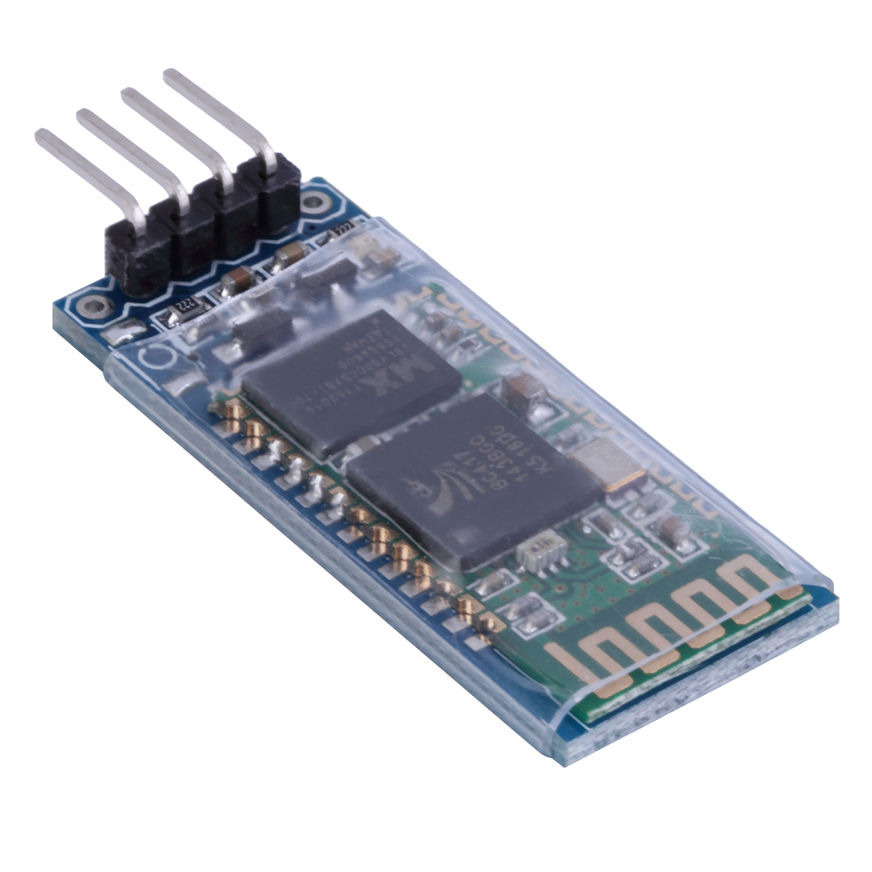 |
Bluetooth receiver | EBay | If you want to control it remotely from the PC or a phone. |
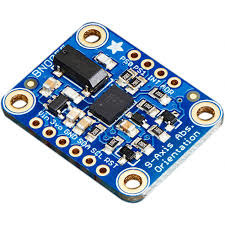 |
BNO055 or LSM9DS0 | EBay | IMU which does the orientation calculation on-chip. |
 |
DC Motors | AliExpress | "Mini 2WD self-balance robot car chassis balance wheel car frame" from "SINONING Official Store" on aliexpress.com. |
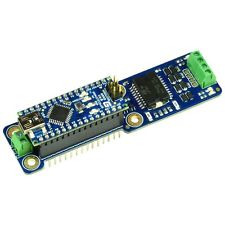 |
Nano Motor Controller | EBay | See notes below about the good, bad and ugly. |
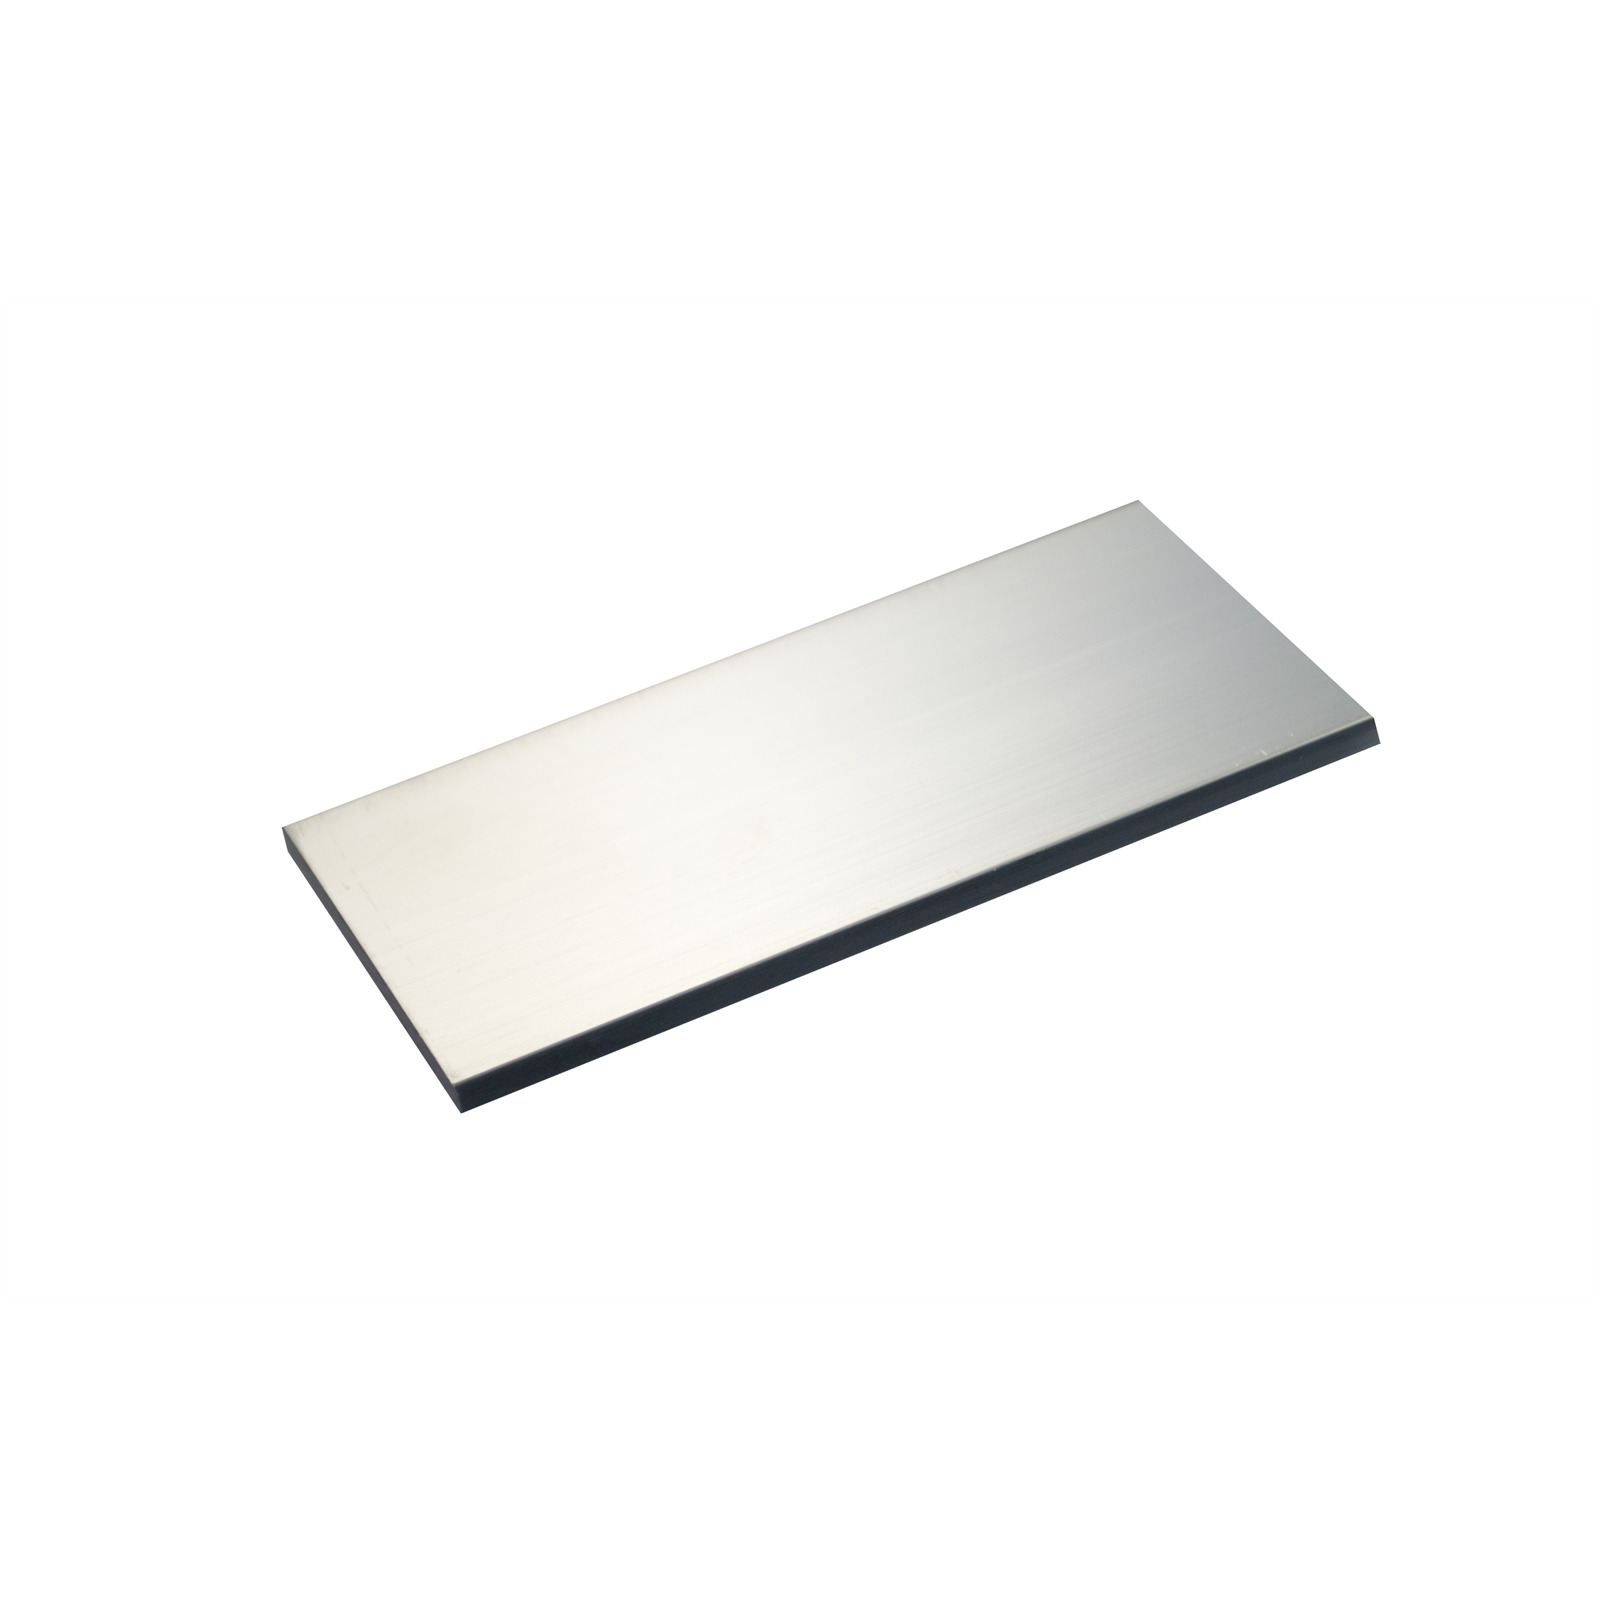 |
Aluminium Bar | Bunnings | Easy to bend, drill and fashion - for the frame. |
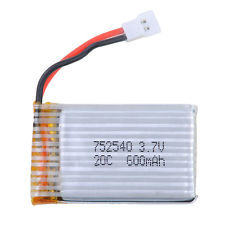 |
7.4 Li-ion battery | EBay or local hobby shop | Should try out an 11.1V one of these. |
Why DC motors
Because I ordered these DC motors with encoders, and it seemed a shame not to use them.
Because it's winter, and indoor robots can be built next to the fireplace.
Because DC motors require a different timing logic to steppers, and it should be easier to make a faster robot than with steppers.
My whinge about Nano motor controllers
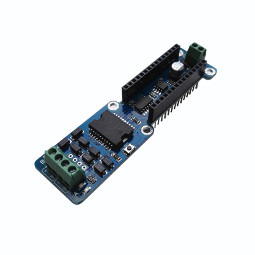
These two Nano Motor Controllers look almost identical (one has the Nano perched on it, but use your imagination). The one on the right is a cheap Chinese eBay $AU8 job, and the the one of the left is a RobotShop one for around $AU53. The cheap one has issues:
- It 'takes over' pin D13 for one of the control pins - ie the same line as the on-board LED. This is just stupid. Why waste the on-board LED and lose such a valuable debugging tool? There are eight other pins which are more suitable.
- It 'takes over' pin D3 for one of the control pins - ie one of the (only two) lines which can be used for hardware interrupt. This is also just stupid. Why waste such a valuable pin when there are another eight which could have been used? As as result, pin D3 can't be used for reading the drive motor encoder. Pin 2 is still available, but there are two motors, and hence two encoders are needed.
Circuit diagram
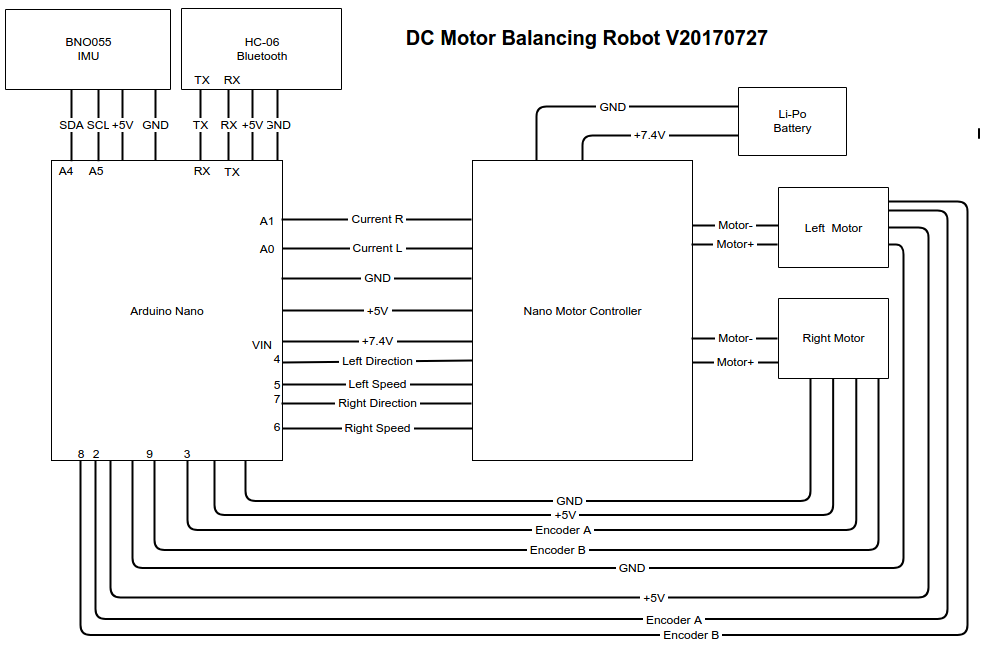
7.4V (from two Li-Pos) is a good voltage to run the Nano from. A 11.1V (from three Li-Pos might be even better). Don't bother with a 6V SLA - the DC startup rush will sag the voltage and crash the Arduino. SLAs are fine for wheelchair robots, but lithium has so many advantages.
Reading the encoders with only two hardware interrupts
There are two motors, each with an encoder. The encoders have two lines each, A and B, which output square waves which are 90 degrees out of phase. Hence a total of four encoder lines are connected to the Arduino Nano, but the Nano (even when we put a sensible Nano Motor Controller on it), only has two hardware interruptable pins.
It is possible to decipher a motor's encoders with one interrupt pin and one ordinary (digital read) pin.
Line A can be connected to the interrupt line, and B connected to the ordinary digital read port. An interrupt routine can be set to be called whenever the state of A changes (ie either LOW to HIGH or HIGH to LOW). This means that when B changes state we don't know about it, but it doesn't matter. When A changes state, the interrupt handler can query the state of the B pin, and effectively work out what change was missed. The logic works out very simply: if both A and B now have the same state the encoder went one direction, if they are now different, they went another.
This method loses one bit of resolution, but this is unlikely to be a problem in practice. The Arduino source code is there if this explanation doesn't make sense.
Software libraries

-
BNO055 Arduino library from Adafruit
Software

There really isn't much software to make this go. This is a pretty simple program, but it hasn't been optimised yet. Watch this space.
The future

-
Add a Lipo-rider battery charger, so the robot can dock itself when the battery is low and stay active.
Add a platform on the top so I can put a glass of water on it and run it around the house.
Add a camera and screen so I can use it as a tele-presence robot and not have to go to work.

Leave a comment
 Something I'm doing wrong? Solved my problems? Got a better idea? Got a similar problem?
Think I might have solved your problem? Ninety-nine problems, but your robot ain't one? Say so ..